Heathkit SW-7800 Shortwave Rebuild
|
I found this little gem in the basement of a TV shop I bought back in 1992. It then sat around in my basement for another 10 years, I just couldn't get rid of it and finally decided that if I was going to keep it around I should do something with it. Thus this rebuild project got started. It's pre-rebuild state was: not working, missing top and bottom covers, missing a front panel knob, and in general just a mess. Whomever originally built this had very poor construction technique as well as really bad soldering skills. |
 |
 |
 |
|
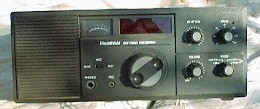
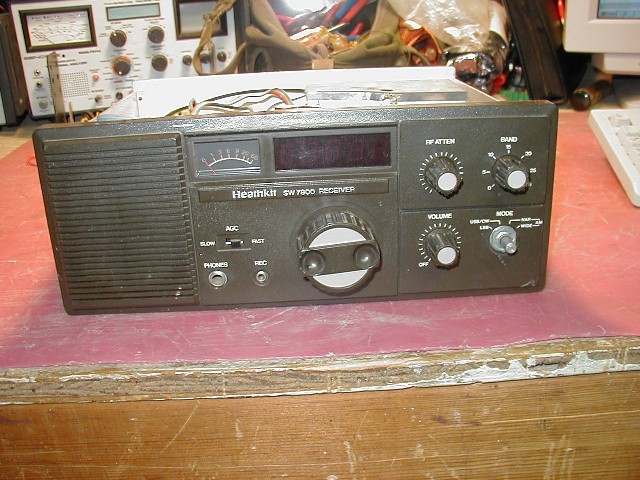
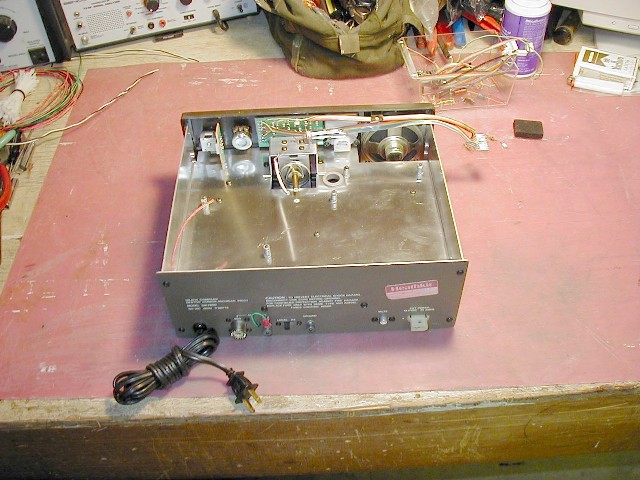
Before Picture Front Panel View |
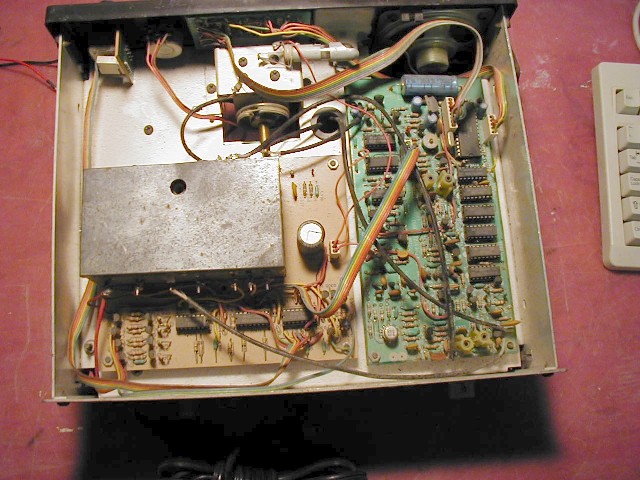
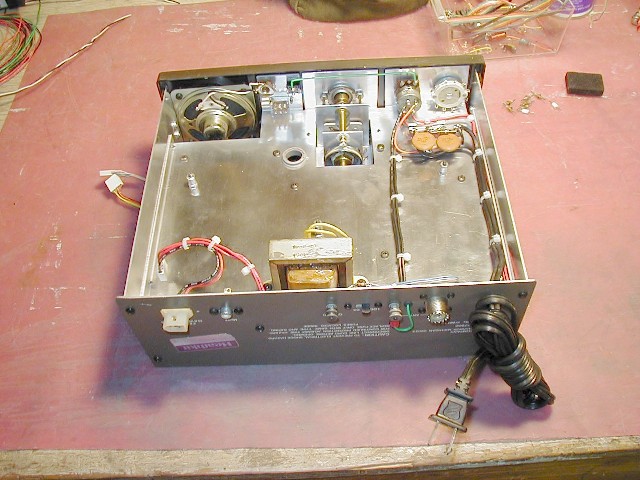
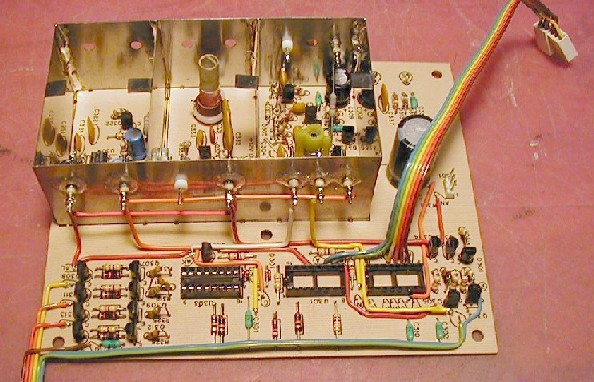
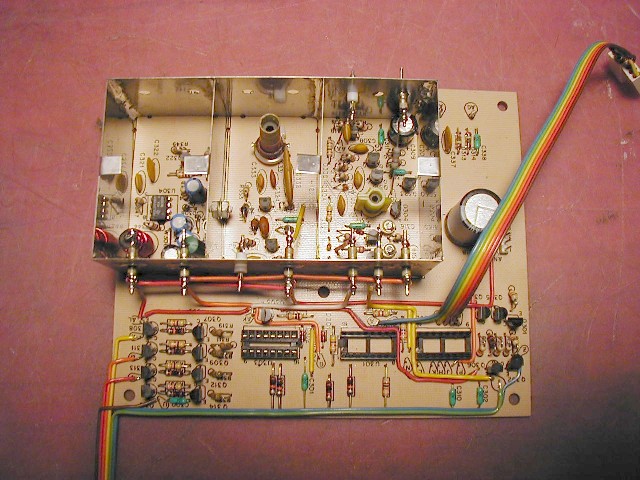
Before Picture Top View showing the Controller (left) and Synthesizer (right) circuit boards. |
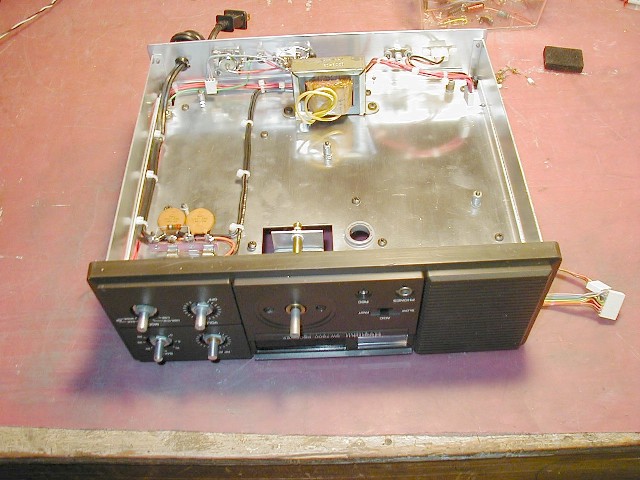
Before Picture Another top view from the front, what a wiring nightmare. |
 |
I started by ordering a manual from Data Professionals. I was very surprised at how much Heathkit information is on the web. I discovered a whole Heathkit following that exists and so much of the equipment is still available. Anyway, I dismantled the entire unit, ripped it out to a bare chassis. I found connections that weren't soldered as well as a LOT of terrible solder connections. Parts were installed cockeyed and wires where just running all over the place in haphazard order. Some wires were disconnected probably in an attempt to originally troubleshoot. I'm pretty sure this little gem never worked from day one, which is to bad because it's a nice little Shortwave receiver. I also eventually found several bad parts on the synthesizer board as well as 5 transistors that were replace with incorrect substitutes, More on that later. I installed several modifications I found for this receiver on the web as well as couple of my own. I completely stripped down each board as I got to them and rebuilt the whole thing as if originally building it following the assembly instructions. |
|
|
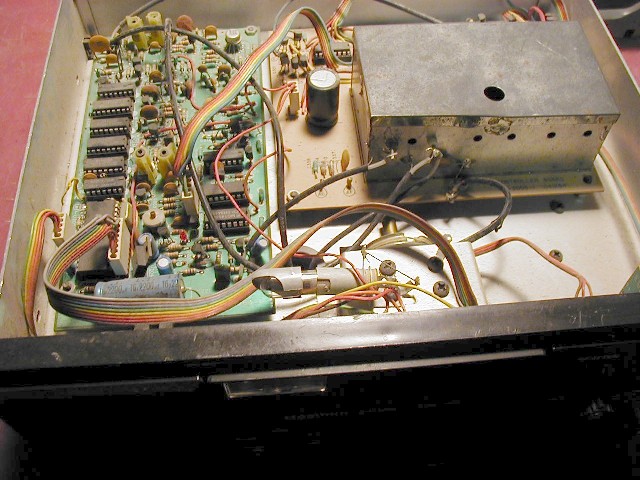
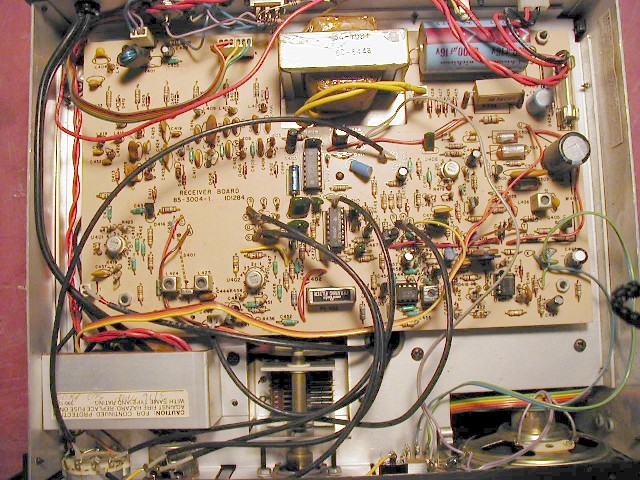
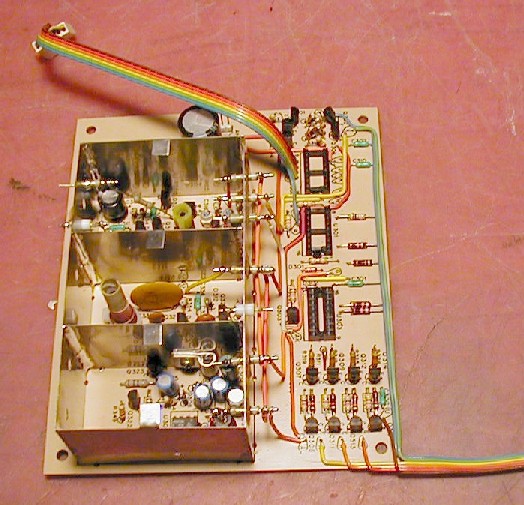
Before Picture Bottom view showing the Receiver board, another wiring disaster (at least by my standards) |
||
 |
 |
 |
|
Chassis As the assembly instructions go I started with the chassis. Completely stripping the unit down, my daughter helped me sand, steel wool, and wash the chassis till it came out with a nice shine. One of my modifications was to use coax in the antenna wiring versus plain wires as instructed in the assembly manual. Toughest part was doing the wiring on the terminal strip. Lota thick wires stuffed onto those terminals. When I was disassembling the unit there were two wires on two terminals than never quite got solder on them. |
||
 |
 |
 |
|
Controller Board The controller was the first board I did. I completely removed every component from the board and rebuilt it. One of my mods was to install a better heat sink on the 15Volt regulator. The RF enclosure on the board came apart into 6 separate pieces, I had to solder the whole thing up again. The original builder put just a couple spots of dull cold solder on and the enclosure was barely held together. I put a bead all the way up the corners, in each corner, as well as shine em all up. I had to repair the coil in the VFO circuit, the form was busted off the base. Replaced a couple resistors that were mangy looking but were probably good. I didn't install the VFO drift mod, thought I'd check to see if I had a 3KHz drift problem first. |
||
|
|
|
|
Back |
Next |